
Getting started
Install Furrget on a Mac or a Windows PC, go through setup, and record your first meeting.
What you need
| macOS | Windows | |
|---|---|---|
| Computer | Apple Silicon (M1 or later) | 64-bit PC |
| System | macOS 14.2 or later | Windows 10 (22H2) or Windows 11 |
| Installer | Furrget-<version>-mac-arm64.dmg |
Furrget-<version>-windows-x64-setup.exe |
Furrget is in beta. Your invite email links to the installer for your computer.
Install
On a Mac
- Open the
.dmgand drag Furrget into Applications. - Open Furrget from Applications. The app is signed and notarized by Apple, so it opens without extra steps.
On Windows
- Run the
-setup.exe. It installs for your user only and needs no administrator rights. - The beta installer is not signed yet, so Windows SmartScreen may stop it. Choose More info, then Run anyway.
Set up Furrget
The first launch opens Set up Furrget, nine short steps with a step counter at the top.
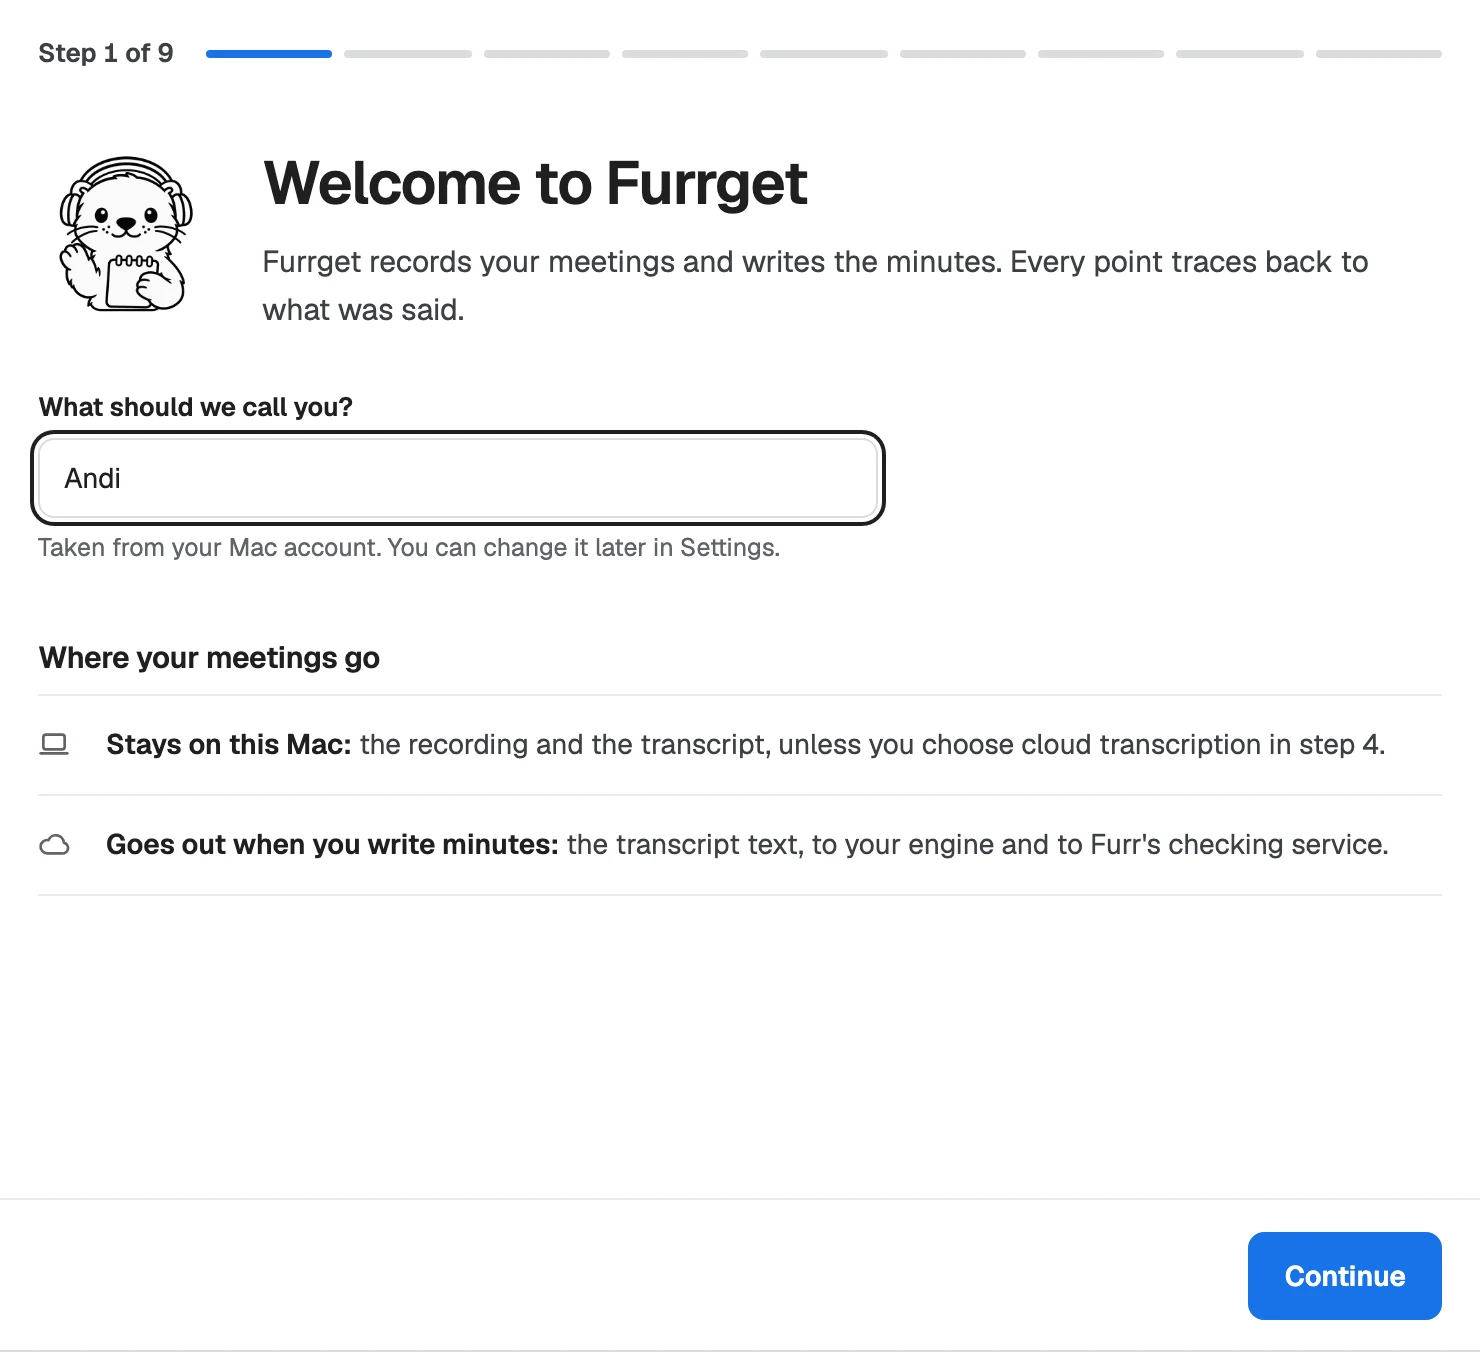
- Welcome to Furrget. Tell Furrget what to call you. On a Mac it suggests the name on your account.
- Your microphone. Choose Allow the microphone and say something until the bar shows Hearing you. If nothing moves, the step tells you where the setting is: System Settings › Privacy & Security › Microphone on a Mac, Settings › Privacy & security › Microphone on Windows.
- System audio. This is how Furrget hears the other people on a call, so no bot has to join it.
- On a Mac, choose Open System Settings… and allow Furrget under Screen & System Audio Recording. If macOS asks you to quit and reopen Furrget, do it.
- On Windows no permission is needed.
- Play the test sound to continue.
- Where should transcription run? Choose On this device or Groq cloud. Furrget measures your computer and recommends one. Groq needs a key before you can continue, and Confidential meetings are always transcribed on your computer.
- The Whisper model. On a Mac, Furrget downloads whisper-large-v3-turbo, about 1.6 GB, once. The download keeps going if you move on, and a stopped download picks up where it left off. On Windows, Furrget uses faster-whisper on the processor.
- Engines write the draft. Pick the AI that drafts your notes: Command Code with a key, Claude Code, Codex, or a custom endpoint. One is enough. See Engines and keys.
- Furr checks every point. Add the key for the checking service, or choose Add later.
- Pick a template for your minutes. Start with Furrget sample or Corporate sample. You can upload your own later in Settings › Templates.
- You’re all set. Choose Open Furrget or New note.
On a Mac, Furrget lives in the menu bar. On Windows it lives in the taskbar corner; the last step offers Open taskbar settings so you can pin it there.
Record your first meeting
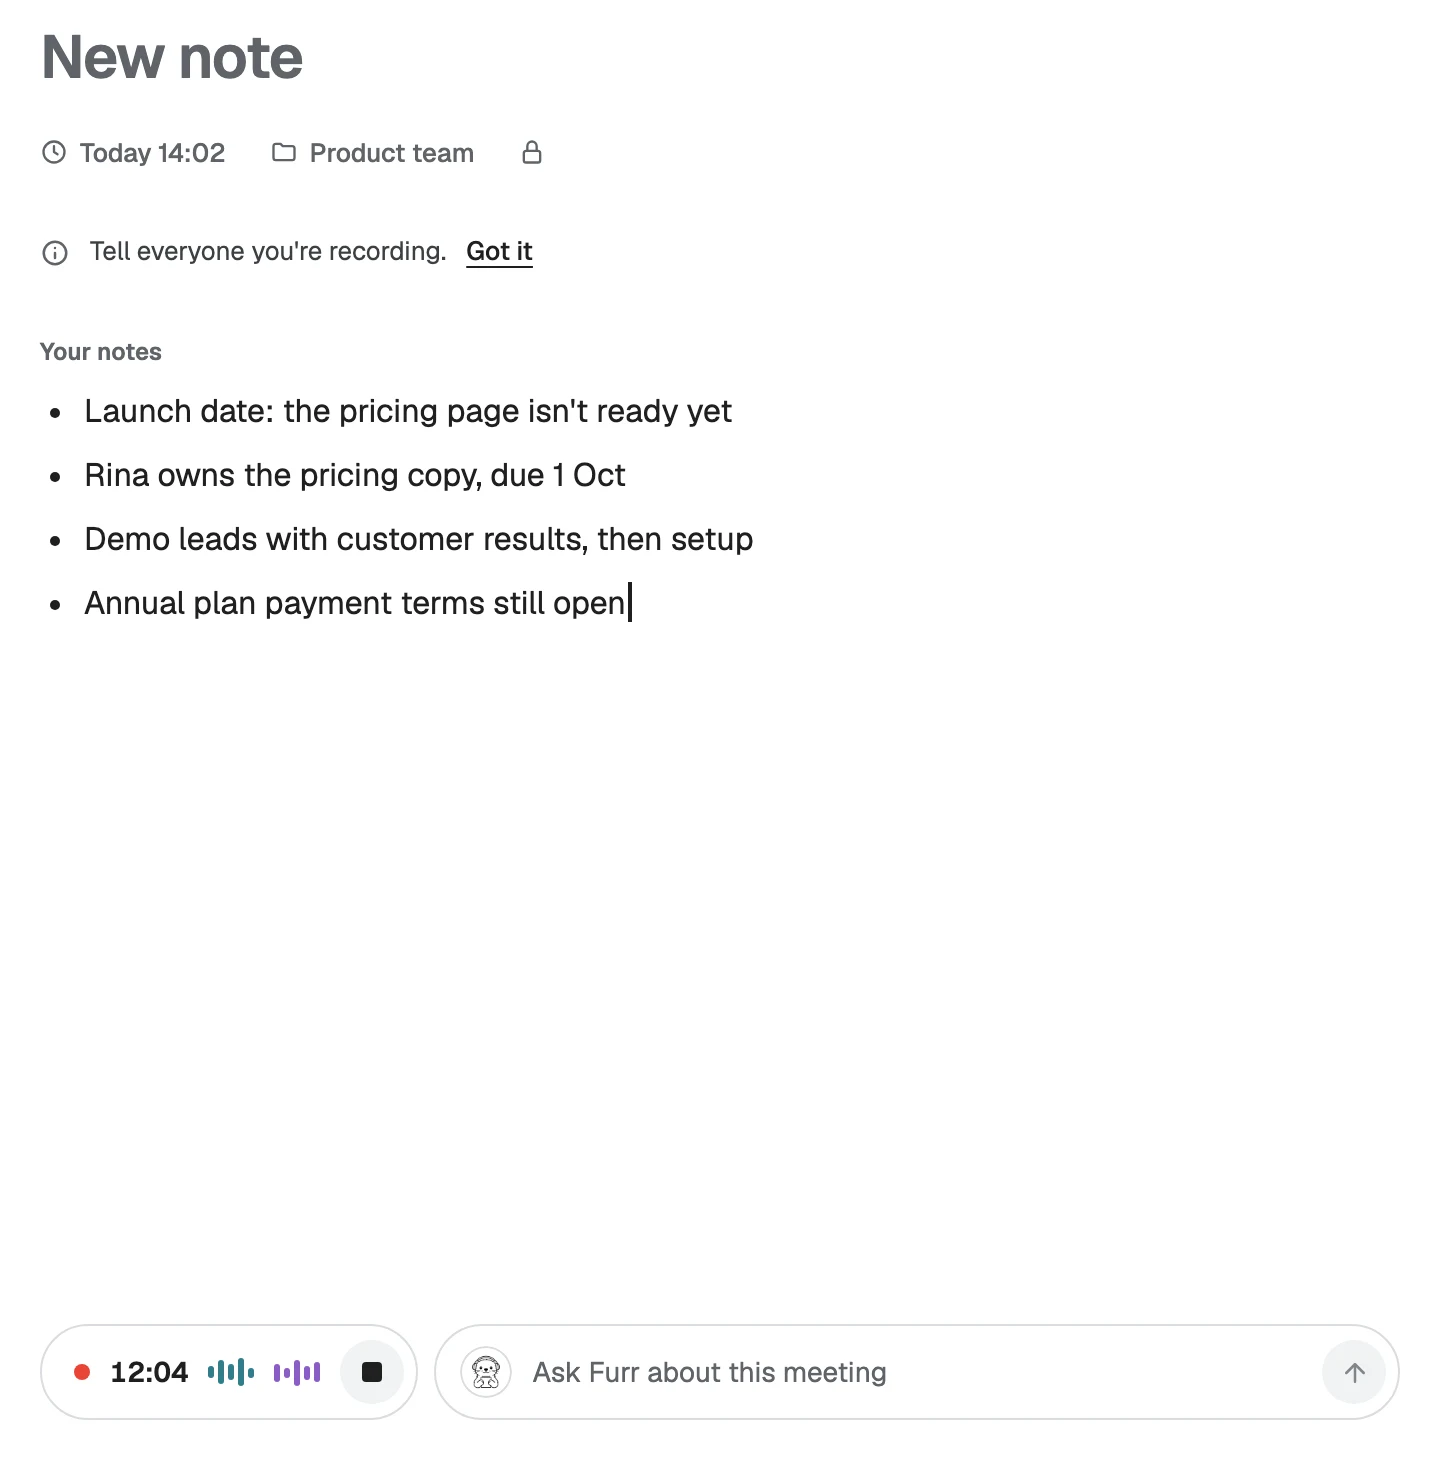
- Choose New note: in the sidebar, from the menu bar or taskbar icon, or on the last setup step. A note opens. It does not record yet, so you can type an agenda first.
- When the meeting starts, press ● Record at the bottom of the note.
- The first time, Furrget reminds you: Tell everyone you’re recording. Choose Got it.
- Take notes if you like. Your own notes guide Furr later.
- Press Stop when the meeting ends. Then read Furr’s notes.
Furrget can also offer to record when a meeting starts in another app. See Recording and the rail.